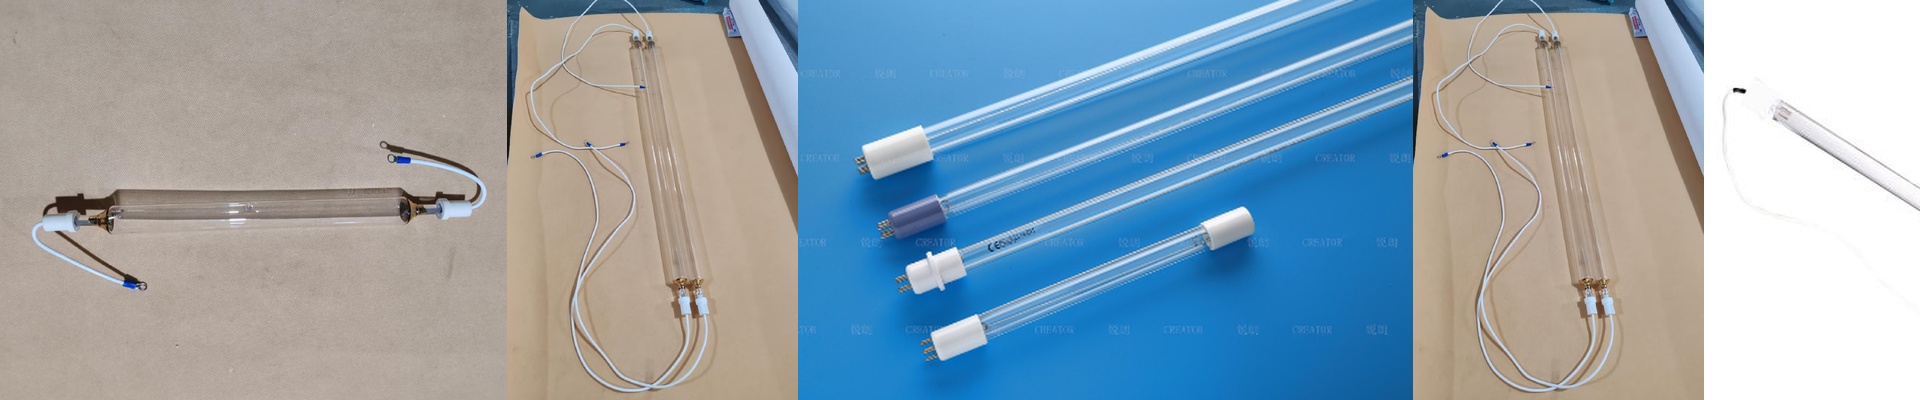
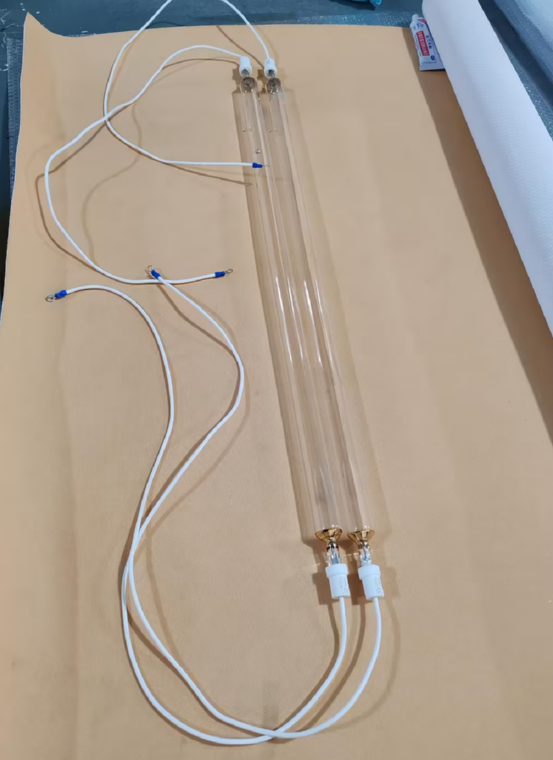
Getting Your PCB Curing Right with Gallium Iodide
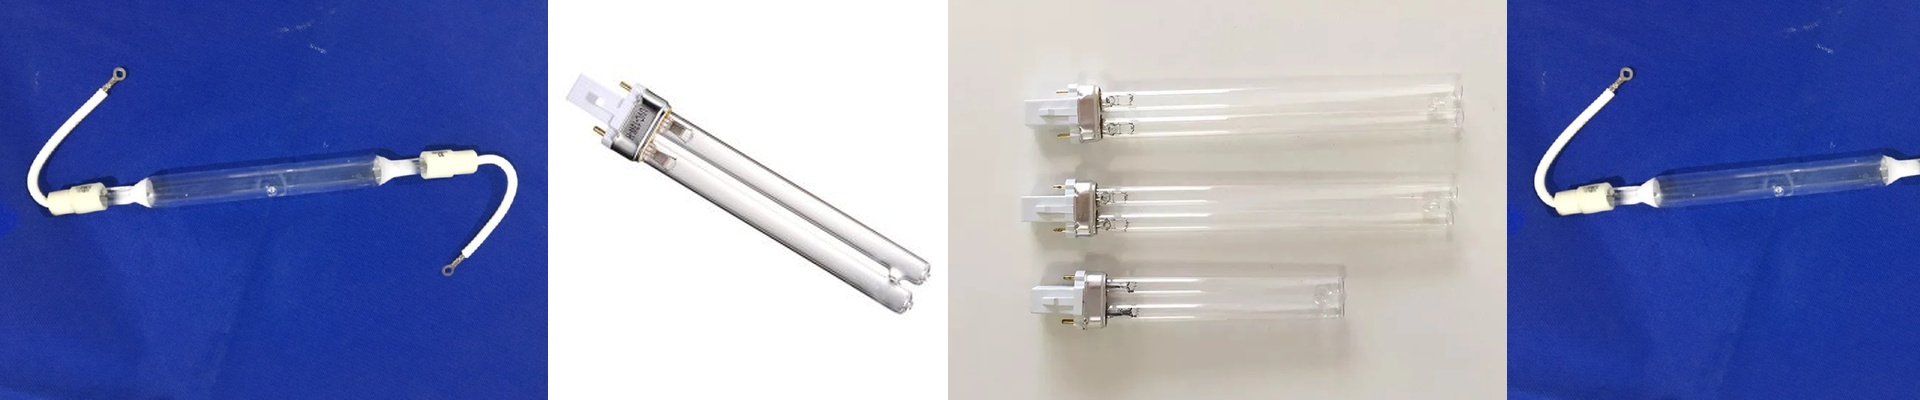
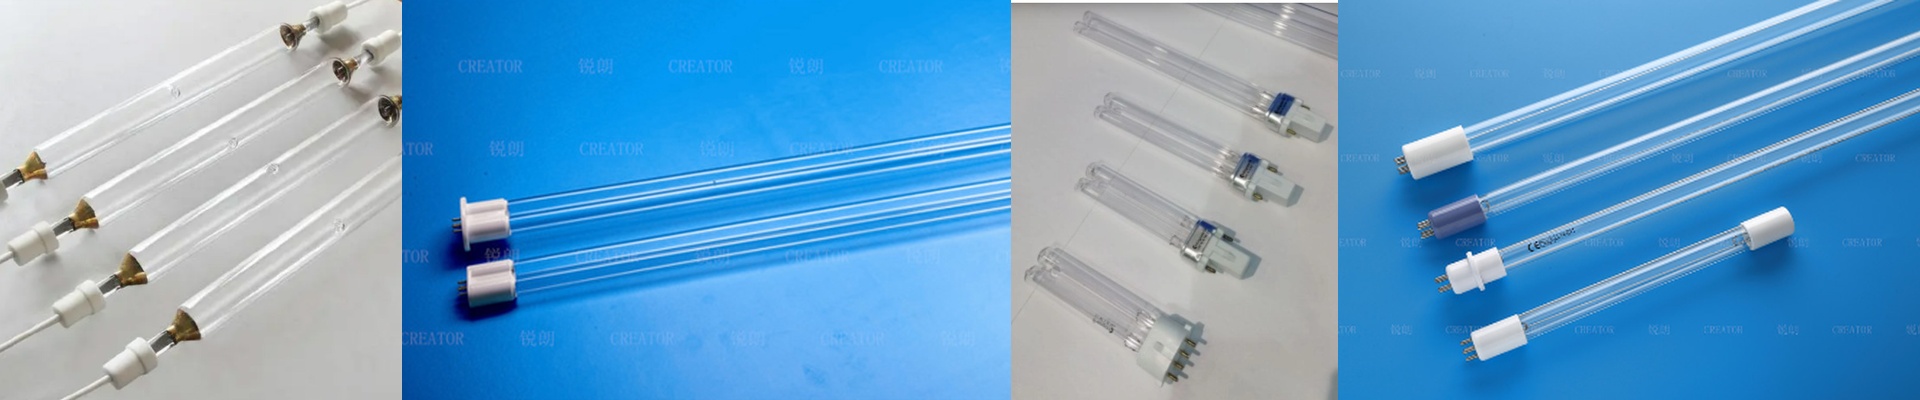
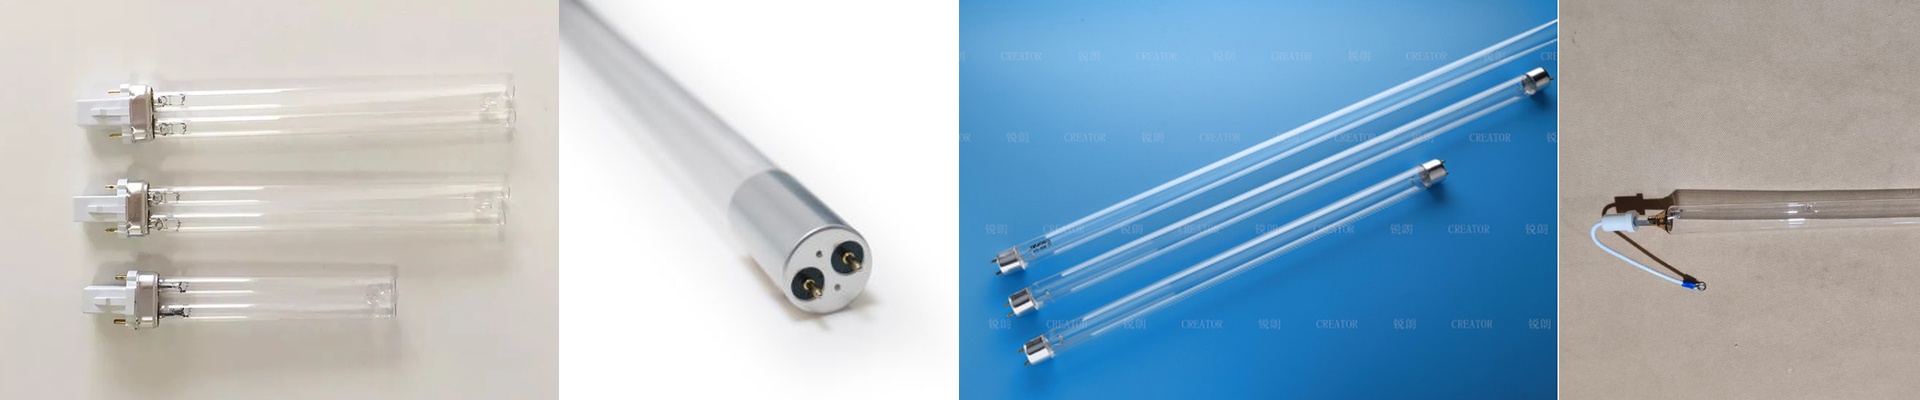
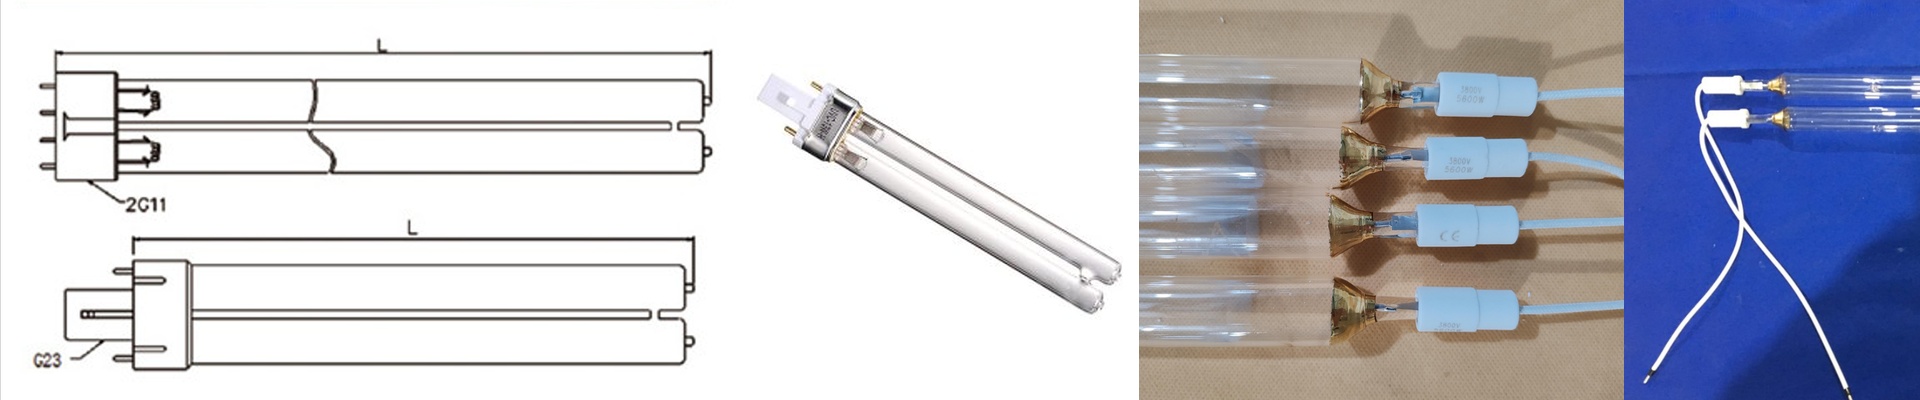
If you’ve been using standard mercury lamps for your PCB fabrication, you know the struggle. You’re constantly fighting that balance between getting a solid cure and accidentally frying your boards. That’s where Gallium Iodide (GaI) comes in. These lamps hit a very specific sweet spot—mostly between 250nm and 350nm. It’s exactly what your dry film resists and solder masks need to actually trigger and set. The trick with power and heat Here is the thing: you want the resist to cure, but you don’t want to turn your substrate into a toaster oven. GaI lamps are great because they focus the energy right where it belongs. You aren’t wasting power on those long-wave UV rays that do nothing but heat up the board. But be careful. If you crank the wattage too high just to speed up your line, you’ll start “over-baking” the edges of your traces. It’s a delicate dance. You have to sync your power density with your conveyor speed, or you’ll end up with registration errors that drive you crazy. Don’t ignore the hardware We use high-purity quartz for the envelopes. Why? Because cheap glass filters out the very light you’re paying for. But remember, these things gethot. Your cooling manifolds need to be up to the task. If your airflow dips even a little, the lamp temperature spikes. When that happens, the spectral output shifts, and suddenly you’ve got uneven curing across your panels. It’s a nightmare to troubleshoot after the fact. Putting them to work Adding these to your line is usually pretty straightforward. They’re designed to drop right into most UV arrays. But here’s a word of warning: you can’t just swap a mercury tube for a gallium one and call it a day. They don’t play by the same rules. The strike voltage is different. The drive current has to be spot on. We usually spend some time with you to calibrate the intensity. The goal is to get your throughput moving faster without losing that crisp, sharp resolution on your circuitry.